
You try to upload a theme, a large image or a backup file, and WordPress stops you with an error like this:
“The uploaded file exceeds the upload_max_filesize directive in php.ini.”
Or maybe a plugin warns that your PHP memory limit is too low, or an import keeps failing with “Maximum execution time exceeded.”
Every one of these problems points to the same place: php.ini, the file that controls how PHP behaves on your server. The trouble is, when you open your WordPress folder to find it, it isn’t there.
In this guide, we’ll explain what php.ini is, why it’s usually hidden from WordPress users, how to find its exact location in seconds, and six safe ways to change your PHP settings, from beginner-friendly hosting tools to direct file edits.
What you’ll learn:
- What php.ini is and what it controls
- Why php.ini isn’t in your WordPress folder
- How to find the exact location of php.ini
- The most important PHP settings for WordPress (and recommended values)
- 6 ways to edit php.ini settings, for every type of hosting
- How to check that your changes worked
- Troubleshooting common problems
What Is php.ini?
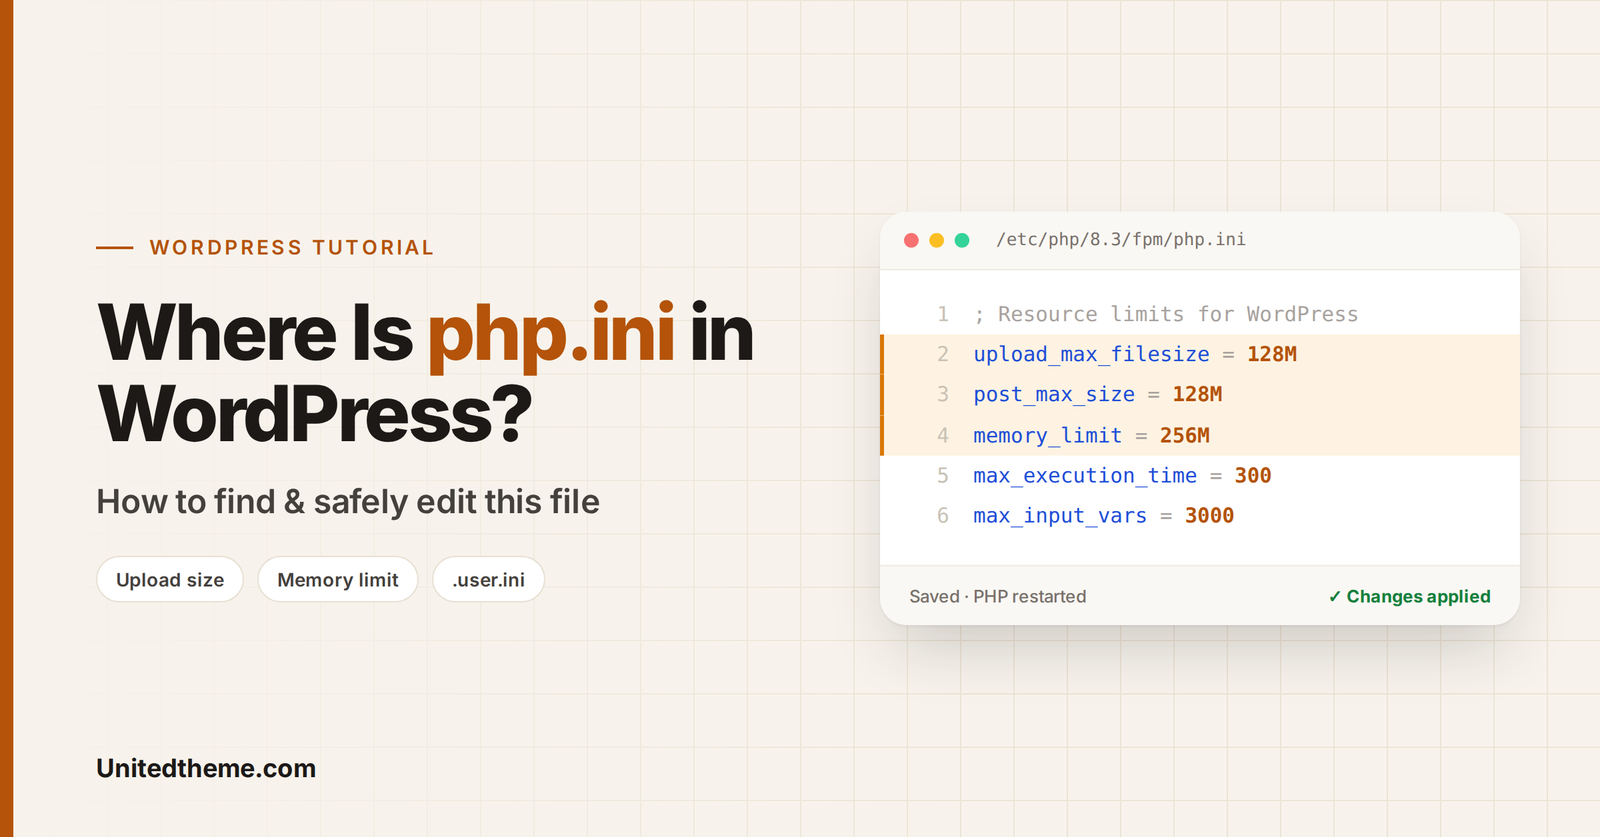
php.ini is PHP’s main configuration file. WordPress is built with PHP, so this file quietly controls many of the limits your site runs within, such as:
-
How large a file you can upload (
upload_max_filesize) -
How much data a form can submit (
post_max_size) -
How much memory each PHP script can use (
memory_limit) -
How long a script can run before it’s stopped (
max_execution_time) -
How many form fields can be submitted at once (
max_input_vars)
When WordPress hits one of these limits, you see errors like failed uploads, white screens, incomplete imports or menus that won’t save.
Good to know: php.ini is a server file, not a WordPress file. WordPress never creates it, and it’s shared by everything that runs PHP on that server or account.
Why Can’t I Find php.ini in My WordPress Folder?
If you open your site’s root folder (often called public_html or www), you’ll see wp-config.php, .htaccess, wp-content and other WordPress files, but usually no php.ini. Here’s why:
It lives at the server level. On most servers, the main php.ini sits in a system folder such as /etc/php/8.x/fpm/php.ini or /etc/php.ini, well outside your website files.
Shared hosting locks it down. On shared hosting, many customers share one server. Hosts don’t let individual users edit the server-wide php.ini. Instead, they provide tools like the MultiPHP INI Editor or a PHP Options panel to change settings for your account only.
Managed WordPress hosts manage it for you. Many managed hosts set sensible PHP limits and let you request changes through their dashboard or support team.
Some hosts use per-folder overrides. Instead of one php.ini, your host might read custom settings from a .user.ini file (or sometimes a local php.ini) in your site’s folder. These files may not exist until you create them.
So, “Where is php.ini in WordPress?” usually has two answers: the real file is somewhere on the server, and the way you change it depends on your hosting.
How to Find the Exact Location of php.ini
The most reliable way to find php.ini is to ask PHP itself, using a phpinfo page.
Method 1: Use a phpinfo() File
- Open a plain text editor and paste this single line:
php
<?php phpinfo(); ?>- Save the file with a hard-to-guess name, such as
info-8f3k2.php. - Upload it to your site’s root folder (the same folder as
wp-config.php) using your hosting File Manager or an FTP/SFTP client. - Visit the file in your browser, for example
https://example.com/info-8f3k2.php. - Look for these rows near the top:
-
Loaded Configuration File: the full path of the active php.ini (e.g.,
/etc/php/8.3/fpm/php.ini). - Scan this dir for additional .ini files: extra configuration folders.
- Server API: tells you how PHP runs (such as FPM/FastCGI, CGI/FastCGI, LiteSpeed or Apache 2.0 Handler). You’ll need this later to choose the right editing method.
-
user_ini.filename: if this shows
.user.ini, your host supports per-folder.user.inioverrides.
-
Loaded Configuration File: the full path of the active php.ini (e.g.,
⚠️ Security warning: A phpinfo page reveals detailed information about your server. Delete the file as soon as you’re done.
Method 2: Check WordPress Site Health (Values Only)
Go to Tools → Site Health → Info and expand the Server section. Here you’ll see your current PHP version, PHP memory limit, max input variables, max execution time, upload max filesize and PHP post max size.
Site Health doesn’t show the php.ini location, but it’s the quickest way to check your current limits, and to confirm later that your changes worked.
Method 3: Use the Command Line (VPS or Dedicated Servers)
If you have SSH access, run:
bash
php --iniThis shows the loaded configuration file. Note that the command-line PHP configuration can be different from the one your web server uses (for example, /etc/php/8.3/cli/php.ini vs. /etc/php/8.3/fpm/php.ini), so the phpinfo method is more accurate for your website.
Common php.ini Locations
| Environment | Typical php.ini location |
|---|---|
| Ubuntu/Debian with PHP-FPM (NGINX or Apache) | /etc/php/8.x/fpm/php.ini |
| Ubuntu/Debian with Apache module | /etc/php/8.x/apache2/php.ini |
| CentOS / AlmaLinux / Rocky Linux | /etc/php.ini |
| cPanel shared hosting | Managed by the host; edit via MultiPHP INI Editor |
| XAMPP (Windows) | C:\xampp\php\php.ini |
| MAMP (macOS) | /Applications/MAMP/bin/php/php8.x.x/conf/php.ini |
| Local (by WP Engine) | Your site’s conf/php/ folder (a php.ini.hbs template), opened from the Local app |
Replace 8.x with your actual PHP version.
Important php.ini Settings for WordPress
Here are the PHP settings WordPress users change most often, with common starting values that work well for most sites:
| Setting | What it controls | Common recommended value |
|---|---|---|
upload_max_filesize |
Largest single file you can upload |
64M – 256M
|
post_max_size |
Maximum size of all data sent in one request | Equal to or larger than upload_max_filesize
|
memory_limit |
Maximum memory one PHP script can use |
256M (512M for large WooCommerce sites) |
max_execution_time |
Seconds a script can run before stopping |
120 – 300
|
max_input_time |
Seconds allowed to receive uploaded data |
120 – 300
|
max_input_vars |
Number of form fields accepted in one request |
3000 – 5000
|
The golden rule:
memory_limit≥post_max_size≥upload_max_filesize. Ifpost_max_sizeis smaller thanupload_max_filesize, large uploads will still fail.
Don’t go overboard. Setting huge limits (like a memory limit of several gigabytes) won’t make your site faster. It can let a single buggy plugin consume your server’s resources. Raise limits only as much as you need.
6 Ways to Edit php.ini Settings in WordPress
Choose the method that matches your hosting. If you’re on shared hosting, start with Method 1.
Before you start: Back up your site, or at least make a copy of any file you’re about to edit. A typo in a configuration file can make your site show an error until it’s fixed.
Method 1: Use Your Hosting Control Panel (Easiest)
Most hosts give you a safe, visual way to change PHP settings without touching any files.
On cPanel hosting (MultiPHP INI Editor):
- Log in to cPanel and go to Software → MultiPHP INI Editor.
- Stay on the Basic Mode tab.
- Select your domain from the dropdown.
- Change values such as
upload_max_filesize,post_max_size,memory_limitandmax_execution_time. - Click Apply.
On cPanel with CloudLinux (Select PHP Version):
- Go to Software → Select PHP Version.
- Click the Options tab.
- Click a value to change it, and it saves automatically.
On other hosts: Look for settings named PHP Configuration, PHP Options, PHP Settings or PHP Limits in your hosting dashboard (for example, Hostinger’s hPanel and Plesk both offer PHP settings pages). Managed WordPress hosts may ask you to contact support instead.
This is the safest method because the host writes the correct configuration for your server setup.
Method 2: Edit php.ini Directly (VPS, Dedicated Servers and Local Sites)
If you manage your own server or a local development site, you can edit the main php.ini file directly.
- Find the file path using the Loaded Configuration File row in phpinfo.
- Open it with a text editor. On a server via SSH, for example:
bash
sudo nano /etc/php/8.3/fpm/php.ini- Search for each setting (press Ctrl + W in nano) and change its value:
ini
upload_max_filesize = 128M
post_max_size = 128M
memory_limit = 256M
max_execution_time = 300
max_input_time = 300
max_input_vars = 3000- Make sure the line doesn’t start with a semicolon (
;). In php.ini, a semicolon turns a line into a comment, so PHP ignores it. - Save the file and restart PHP so the changes take effect:
bash
# PHP-FPM (replace 8.3 with your version)
sudo systemctl restart php8.3-fpm

# Apache with mod_php
sudo systemctl restart apache2
On XAMPP or MAMP, stop and start the servers from the control panel. In Local, restart the site.
Method 3: Create a .user.ini File (Many Shared and FastCGI Hosts)
If your phpinfo page shows a Server API of CGI/FastCGI or FPM/FastCGI and lists .user.ini under user_ini.filename, you can override settings for your site with a .user.ini file.
- In your site’s root folder (where
wp-config.phplives), create a file named exactly.user.ini(with the dot at the start). - Add only the settings you want to change:
ini
upload_max_filesize = 128M
post_max_size = 128M
memory_limit = 256M
max_execution_time = 300
max_input_vars = 3000- Save the file.
Be patient: PHP caches
.user.inifiles. By default, changes can take up to 5 minutes to apply (controlled by theuser_ini.cache_ttlsetting). Restarting PHP, if you can, applies them immediately.
Note: Files starting with a dot are hidden by default. In cPanel File Manager, click Settings and enable Show Hidden Files (dotfiles).
Method 4: Create a Custom php.ini File in Your Site Folder
Some hosts, especially older setups and certain cPanel configurations, read a php.ini file placed directly in your website’s root folder. The steps are the same as for .user.ini:
- Create a file named
php.iniin your site’s root folder. - Add the settings you want to change (same format as above).
- Save it, then check Site Health or phpinfo to confirm it worked.
If the values don’t change, your host doesn’t support this method. Delete the file and use Method 1, Method 3, or contact your host. (Behind the scenes, cPanel’s MultiPHP INI Editor often creates these files for you.)
Method 5: Use the .htaccess File (Apache With mod_php Only)
If your server runs PHP as an Apache module (phpinfo shows Server API: Apache 2.0 Handler), you can set PHP values in your .htaccess file.
- Open the
.htaccessfile in your WordPress root folder. - Add these lines outside the
# BEGIN WordPress/# END WordPressblock, so WordPress doesn’t overwrite them:
apache
php_value upload_max_filesize 128M
php_value post_max_size 128M
php_value memory_limit 256M
php_value max_execution_time 300
php_value max_input_time 300- Save and reload your site.
⚠️ Warning: If your server uses PHP-FPM, FastCGI or LiteSpeed in a mode that doesn’t support these directives, adding
php_valuelines will cause a 500 Internal Server Error. If that happens, remove the lines immediately and use another method. (Some LiteSpeed servers do support them, so check your host’s documentation.)
Method 6: Increase WordPress Memory in wp-config.php
For memory problems specifically, WordPress has its own setting. Add this to wp-config.php, above the line that says /* That's all, stop editing! Happy publishing. */:
php
define( 'WP_MEMORY_LIMIT', '256M' );
define( 'WP_MAX_MEMORY_LIMIT', '512M' );-
WP_MEMORY_LIMITsets the memory available to WordPress on the front end. -
WP_MAX_MEMORY_LIMITsets the memory for admin tasks like image processing and updates.
Important: These constants work within PHP’s
memory_limit. If your server caps memory at 128M, WordPress can’t go higher, so you’ll still need to raisememory_limitusing one of the methods above.
How to Check That Your Changes Worked
After editing, always confirm that the new values are active:
- Go to Tools → Site Health → Info → Server and check the PHP limits.
- Or reload your phpinfo page and look at the Local Value column for each setting. (Delete the file afterward.)
- Try the action that failed before, such as uploading the large file or running the import.
Why might the old values still show?
- You edited the wrong file (for example, the CLI php.ini instead of the FPM one).
- PHP hasn’t been restarted, or the
.user.inicache hasn’t refreshed yet. - A setting in another file (or your host’s control panel) is overriding yours.
- Your host enforces a maximum limit for your plan.
Troubleshooting Common Problems
“500 Internal Server Error” after editing You probably added php_value lines to .htaccess on a server that doesn’t support them, or made a typo in a config file. Undo your last change using your backup or File Manager, and try a different method.
Upload limit still too small Make sure post_max_size is at least as large as upload_max_filesize. Some hosts also apply limits at the web server level (for example, NGINX’s client_max_body_size), which only the host or server admin can change.
Memory limit won’t go above a certain number Your hosting plan may cap memory. Contact your host or consider upgrading your plan.
Changes apply to one site but not another .user.ini and per-folder php.ini files only affect the folder they’re in (and its subfolders). Each site needs its own file, or use your hosting panel’s per-domain settings.
I can’t see .user.ini or .htaccess Enable Show Hidden Files in your File Manager or FTP client.
My host says I can’t change PHP settings Some managed and budget hosts restrict PHP limits. Ask support to raise them for you. If they can’t meet your site’s needs, it may be time to move to a more flexible host.
Frequently Asked Questions
Where is php.ini located in WordPress?
php.ini isn’t part of WordPress. It’s a server configuration file, usually stored outside your website folder (for example, /etc/php/8.x/fpm/php.ini). Use a phpinfo page and check Loaded Configuration File to find its exact location.
Can I create my own php.ini file in WordPress?
Depending on your host, you can create a .user.ini or php.ini file in your WordPress root folder to override certain PHP settings. Check your phpinfo Server API and user_ini.filename values to see what’s supported.
How do I increase the maximum upload size in WordPress?
Increase both upload_max_filesize and post_max_size. The easiest way on shared hosting is cPanel’s MultiPHP INI Editor or your host’s PHP settings page. Alternatively, use a .user.ini file or edit php.ini directly on a VPS.
What’s the difference between memory_limit and WP_MEMORY_LIMIT?
memory_limit is the PHP server setting and acts as the hard ceiling. WP_MEMORY_LIMIT is a WordPress setting in wp-config.php that asks for a certain amount of memory, but it can’t exceed PHP’s memory_limit.
Is it safe to edit php.ini?
Yes, as long as you back up first, change only the values you need, and use reasonable limits. Always delete phpinfo test files afterward, as they expose server details.
Why aren’t my php.ini changes working?
You may have edited the wrong file, not restarted PHP, used a method your server doesn’t support, or hit a limit set by your host. Check phpinfo’s Loaded Configuration File and Local Value columns to troubleshoot.
Can a plugin change php.ini settings?
Some plugins claim to change PHP limits, but they can only do so if your server allows it, and many simply write to .htaccess or .user.ini for you. Using your hosting control panel or editing the files yourself is usually more reliable.
Recommended Video Tutorials
Prefer to follow along visually? These YouTube videos show how to find and edit php.ini settings:
- Where Is php.ini in WordPress? & How to Edit This File – Beginners Step-by-Step Guide, by Visualmodo: a beginner-friendly walkthrough of finding and editing php.ini for WordPress. youtube.com/watch?v=jrkCJPIvAk8
- How to Create a Custom php.ini File for WordPress in cPanel, by RackNerd: creating a custom php.ini file on cPanel hosting. youtube.com/watch?v=gPlKHDRkAXs
- How to Fix MultiPHP INI Editor in cPanel and Increase Max Upload Size, Execution Time and Memory Limits, by WPCode Studio: using cPanel’s MultiPHP INI Editor step by step. youtube.com/watch?v=q6Ql8xl9buI
- How to Edit php.ini File on Namecheap Business Hosting, by Namecheap: an official host walkthrough of editing PHP settings. youtube.com/watch?v=EqizWbP81WE
- Fix “The Uploaded File Exceeds the upload_max_filesize Directive in php.ini” Error, by WP Peoples: fixing the most common php.ini-related WordPress error. youtube.com/watch?v=RZvTeCU2zb4
- The Best Way to Find the PHP Ini File, by Coder Jay: a quick developer-focused explanation of locating php.ini with phpinfo. youtube.com/watch?v=_71QAvATIiY
Editor’s tip: Paste any of these YouTube URLs on its own line in the WordPress block editor to embed the video automatically.
Conclusion
php.ini can feel mysterious because it’s rarely where WordPress users expect it to be. But once you understand that it’s a server file, finding and changing your PHP settings becomes straightforward.
Here’s the quick recap:
- Find your current settings in Tools → Site Health → Info → Server.
- Find php.ini’s location with a temporary phpinfo page (and delete it afterward).
-
Choose the right editing method for your hosting:
- Shared hosting → hosting control panel (MultiPHP INI Editor or PHP Options)
- FastCGI/FPM hosting → .user.ini
- VPS, dedicated or local → edit php.ini directly and restart PHP
- Apache module → .htaccess
php_valuelines - Memory only → wp-config.php
WP_MEMORY_LIMIT
- Verify your changes and test the action that failed before.
With the right limits in place, you can upload larger files, run imports smoothly and give your plugins the resources they need.
Building a new site? Explore the fast, lightweight and Site Editor-ready WordPress themes at Unitedtheme.com.
Don’t Want to Touch Server Files? Let Our WordPress Developers Handle It
Editing php.ini, .user.ini, .htaccess and wp-config.php is powerful, but one wrong line can take your site offline. At Unitedtheme, we offer professional WordPress development services to handle the technical side for you: configuring PHP limits correctly for your hosting setup, fixing upload, memory and timeout errors, upgrading PHP versions safely, tuning your server for performance and building custom features without breaking what already works. Our developers make sure every change is tested, backed up and done right the first time. If you’d rather spend your time growing your website than troubleshooting server settings, hire Unitedtheme’s expert WordPress developers and let us take care of it.


Leave a Reply